Wireless Mic Guide
Use your phone as a wireless microphone and dictate into any text field on your computer.
Desktop Wireless Mic
Real-time Speech-to-Text with macro support; straight to your desktop cursor
 Download for Windows
Wireless Mic (Speech-to-Text + Macros)
How It Works
- Install and sign in to the OrthoScribe Desktop app by scanning the code with your phone, then place your cursor in any text field in your EMR or another application.
- Select “Phone” under Microphone in the desktop app.
- Open Wireless Mic in the OrthoScribe mobile app. Your phone will automatically connect to the signed-in desktop.
- Tap the microphone once to start dictating and again to stop. The text appears in the active area as you speak.
- Say “Insert [macro name]” to expand phrases/templates
- Audio Keywords get applied automatically.
- Ideal for: complete notes, letters, forms, messages, and quick edits anywhere you can type or paste text.
How to Use the Wireless Microphone
- Download and install the latest version of OrthoScribe Desktop using the link above.
- Open the desktop app. The first time you sign in, scan the QR code using your phone’s camera.
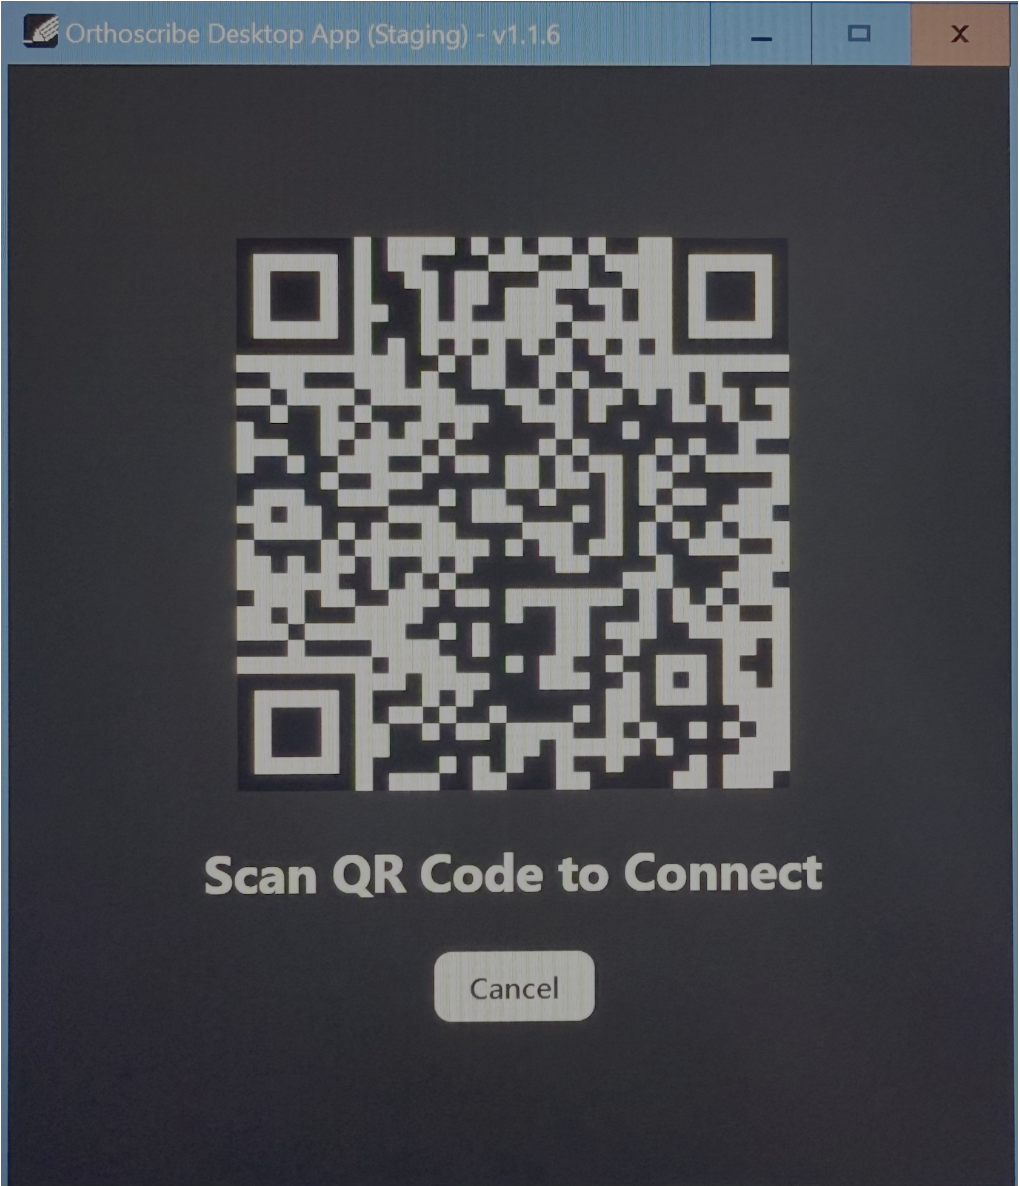
Scan to sign in 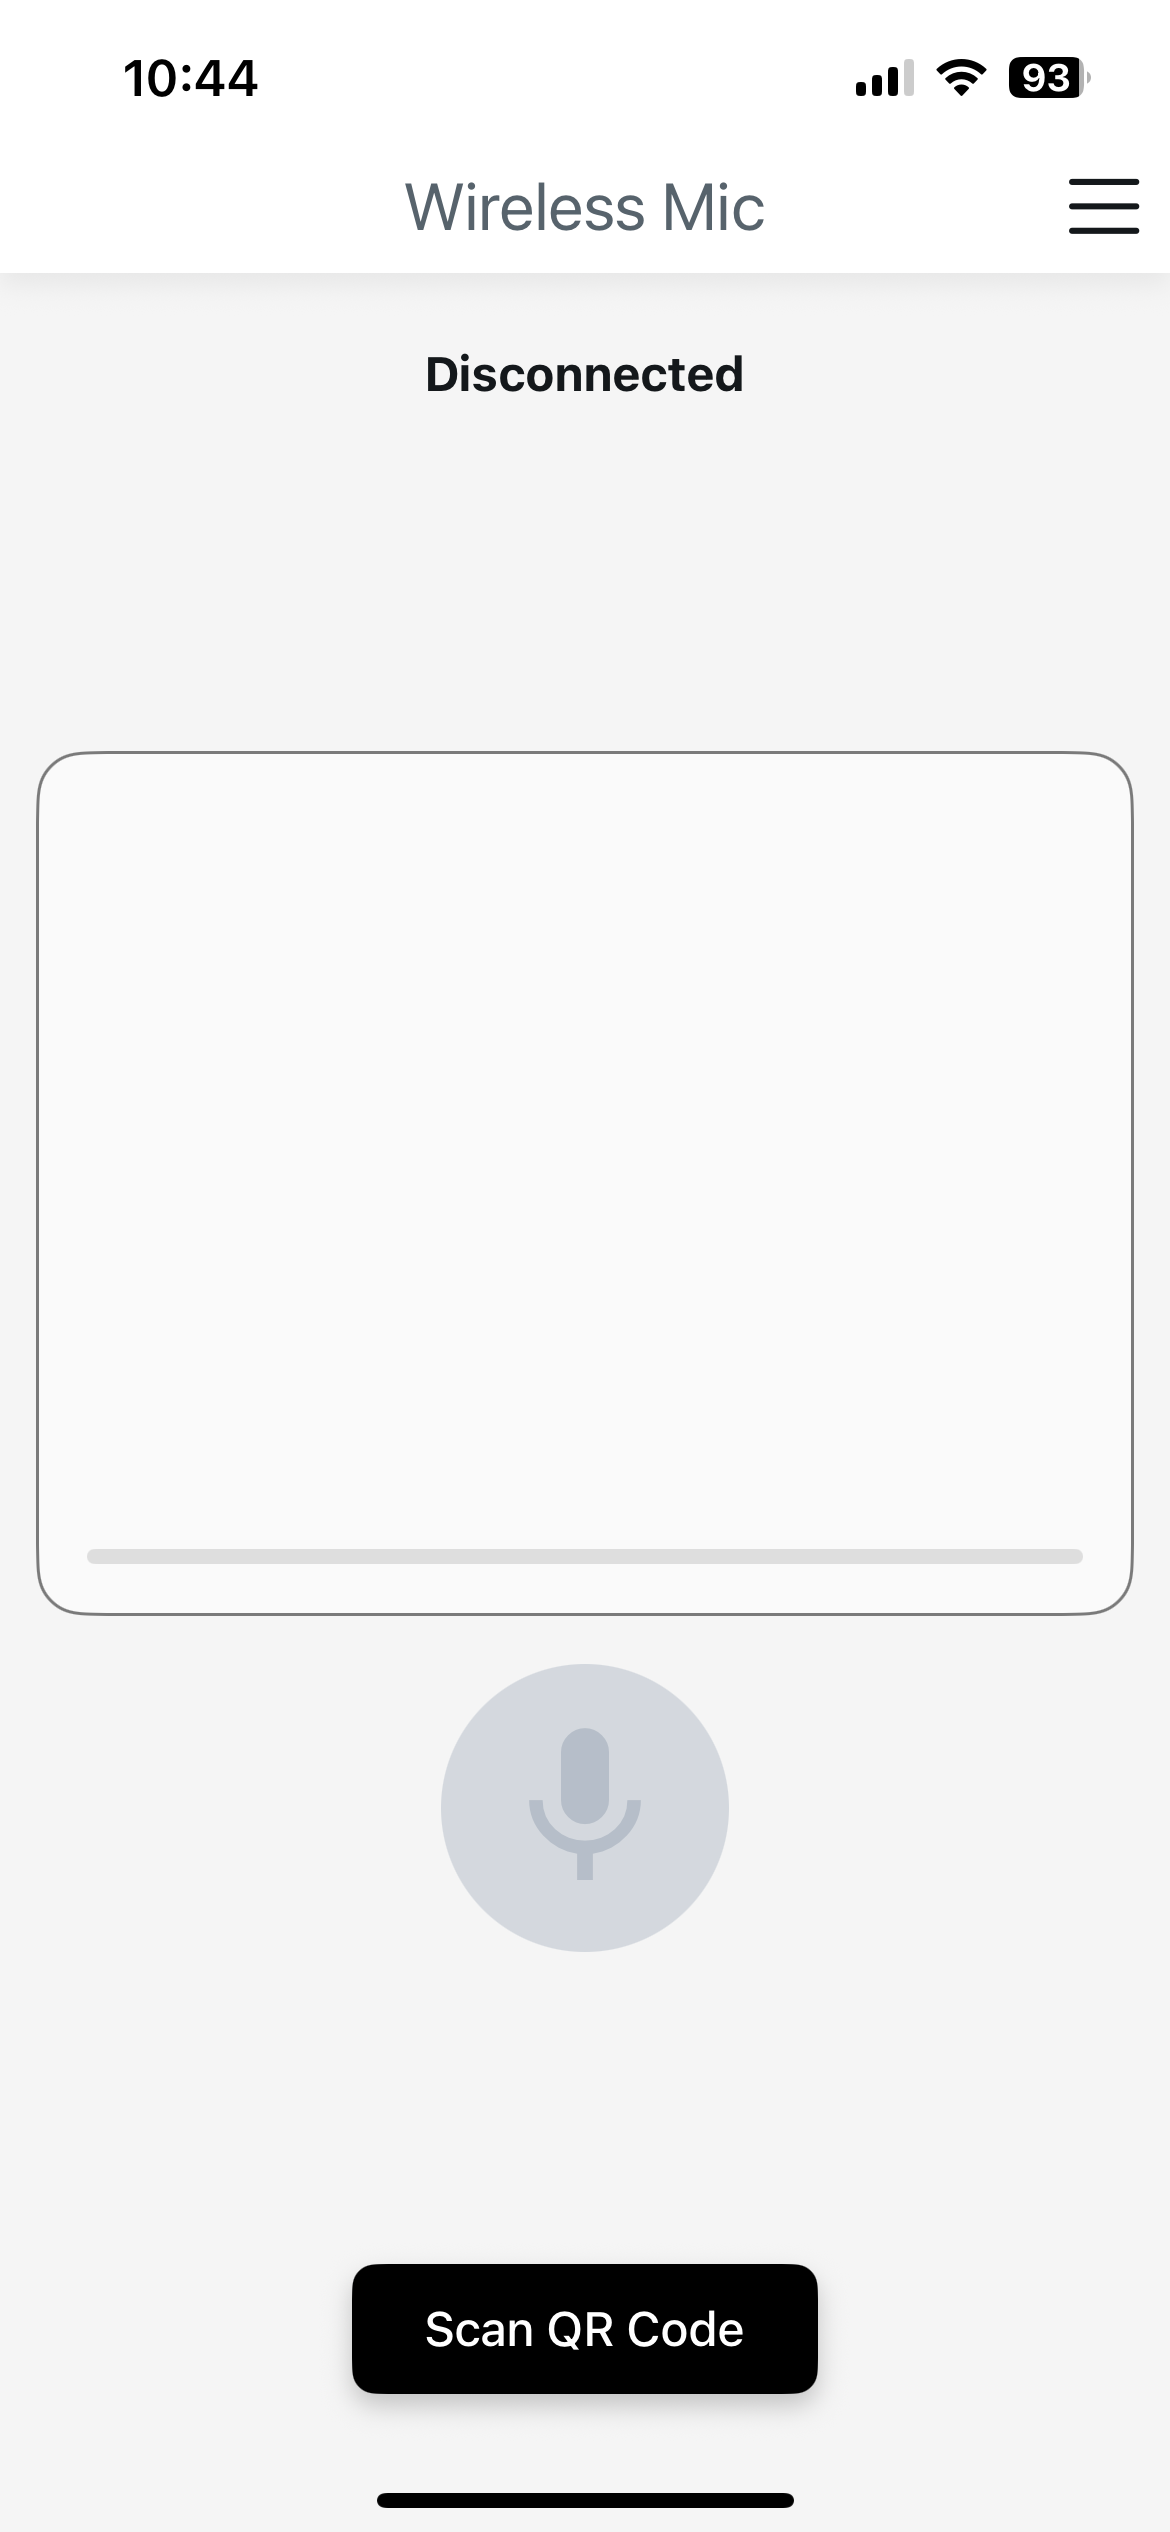
Wireless Mic - After scanning, choose Keep me signed in on a trusted computer if you do not want to scan the QR code each time.
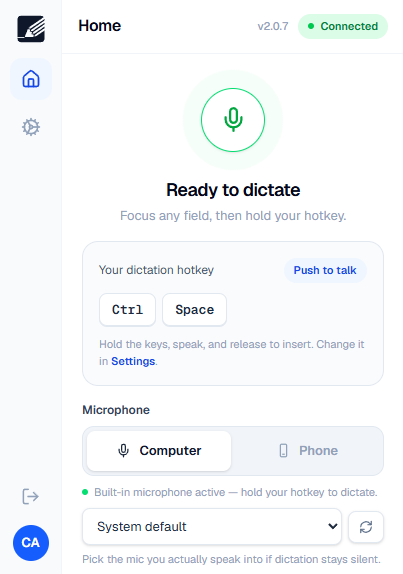
- On the desktop app's Home screen, set Microphone to Phone. Otherwise it uses the default microphone on your computer.
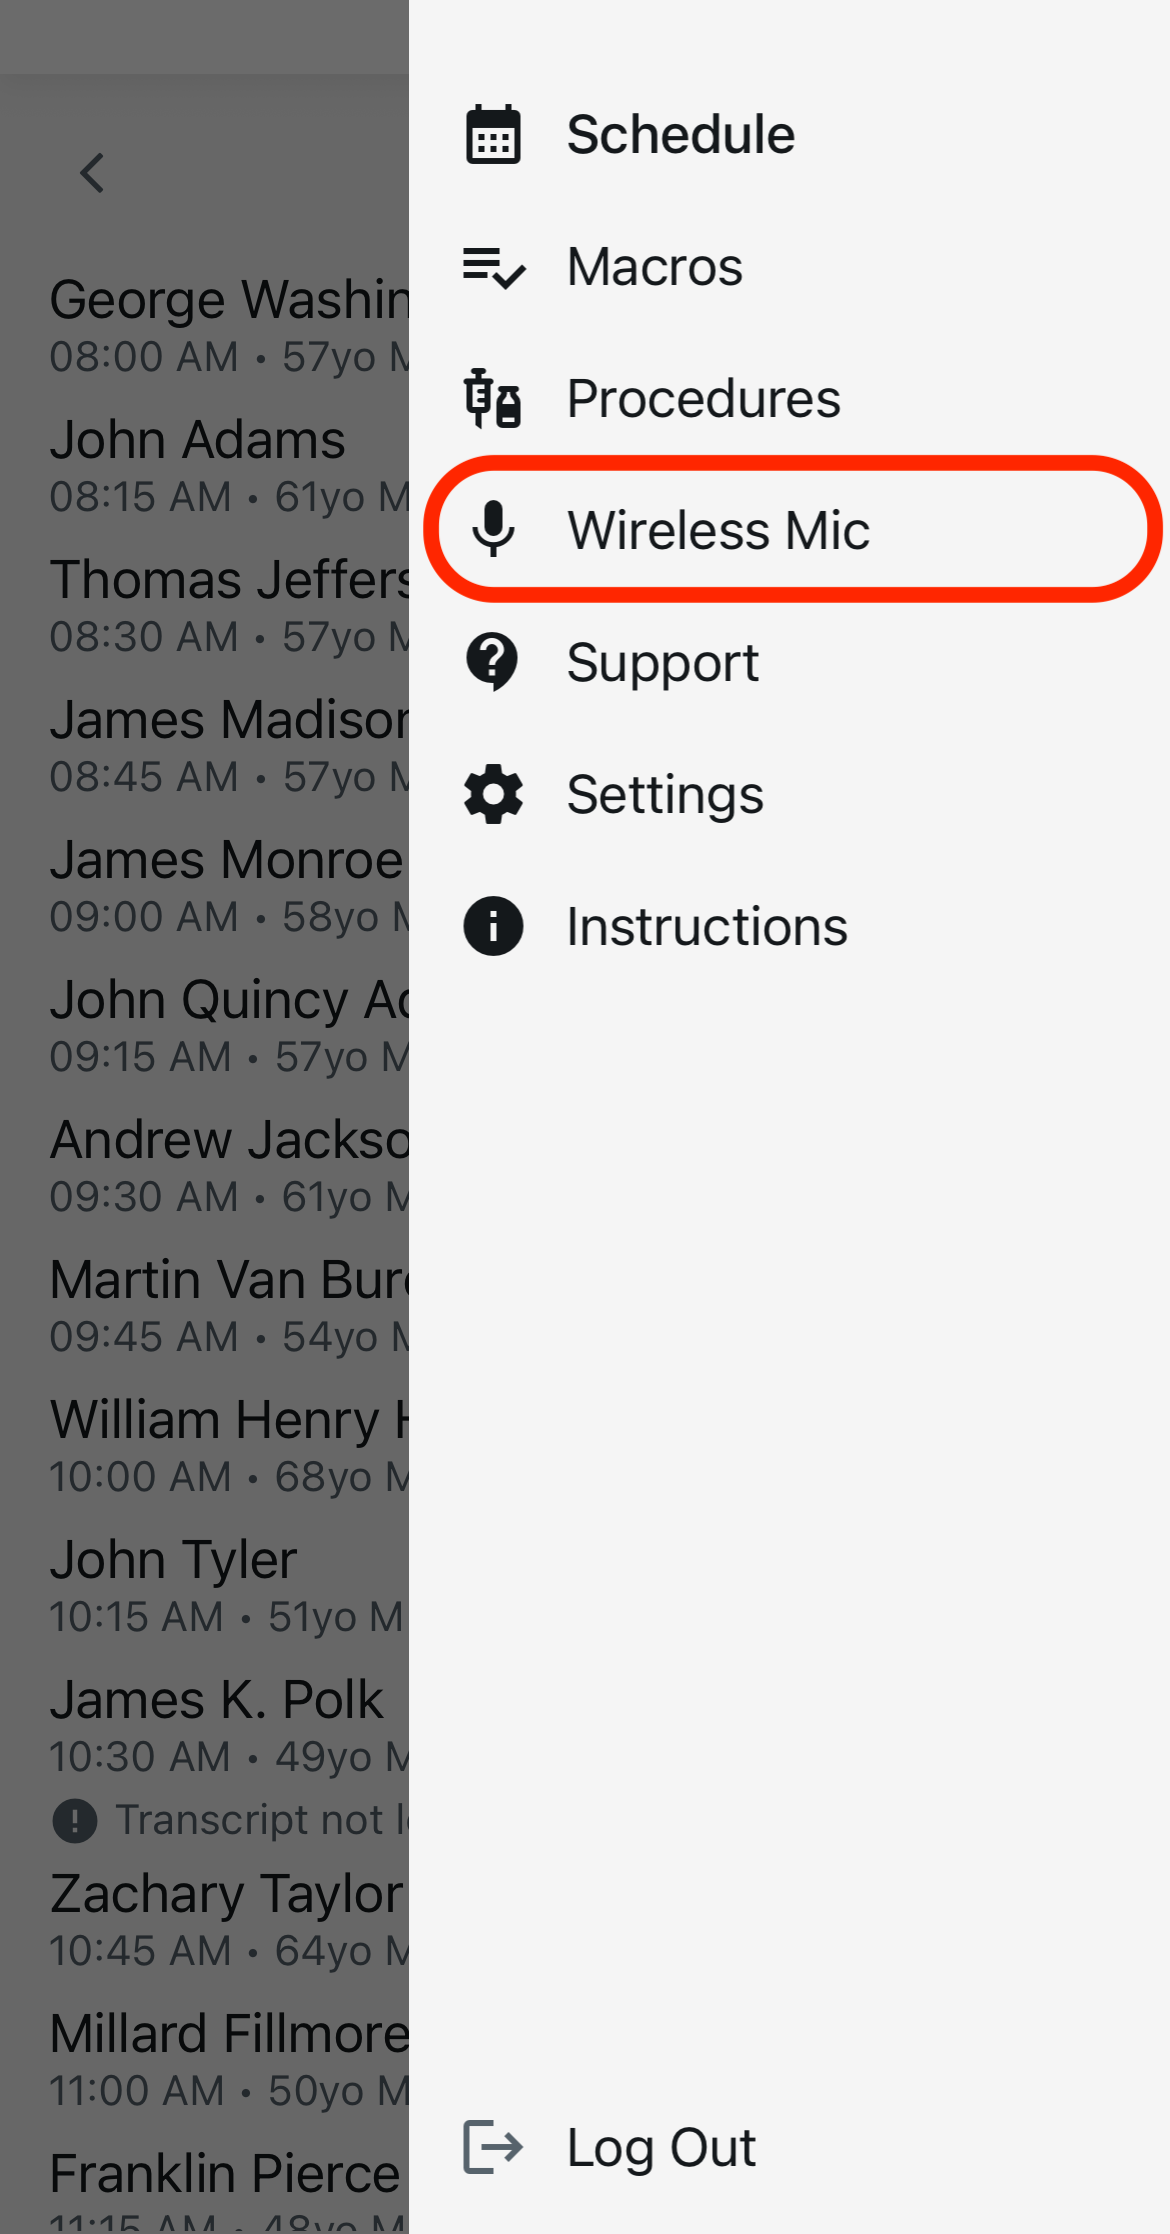
- Open the OrthoScribe mobile app and select Wireless Mic from the menu.
- Wait until the phone displays Connected — ready.
- If the desktop is set to its computer microphone, tap Switch to Phone mic on your phone.
- If the desktop is unavailable, open OrthoScribe Desktop and tap Retry.
- Open the desired text field in your EMR or another application and position the cursor where the dictation should appear.
- Tap the microphone on your phone once to begin recording. Tap it again when you are finished.
- Preliminary transcription appears in the preview window on your phone. OrthoScribe corrects the transcription and inserts it at your cursor in chunks while you dictate.
- When you pause, the progress bar begins filling. After approximately two seconds of silence, the pending text is processed and transferred. If you resume speaking before the bar finishes, the timer resets so you can continue the same thought.
- After stopping, allow a moment for the final corrected text to appear.
Microphone Settings and Indicators
The compact indicator shows which microphone OrthoScribe is using and whether it is actively listening. Use the desktop app’s Home screen to switch between your computer and phone.
Ready
OrthoScribe Desktop is connected and ready, but it is not currently listening.

Listening
The computer microphone is active. Speak while holding your hotkey in Push to talk mode, or press it once in Toggle mode.

Listening via phone
Your phone is the active microphone. Tap the phone’s microphone once to start and again to stop.

Switch Between Computer and Phone
- Open OrthoScribe Desktop and select Home.
- Under Microphone, choose Computer or Phone.
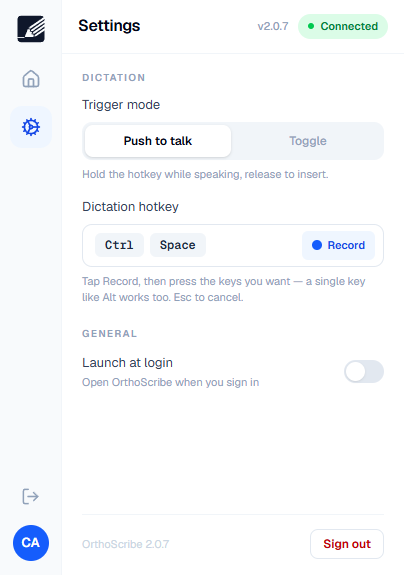
- When using Computer, select the correct input device from the dropdown. Open Settings to choose Push to talk or Toggle and to change the dictation hotkey.
- When using Phone, open Wireless Mic in the mobile app. The devices connect automatically through your signed-in OrthoScribe account.
Phone control: tap once to start and tap again to stop. You do not need to press and hold the phone microphone.