Apple Watch Guide
Complete guide for using OrthoScribe with Apple Watch integration.
Apple Watch Companion
Quick, low-distraction recording device for visits
Included with iOS app
How to Use the Apple Watch
OrthoScribe on the Apple Watch was created so that you can disconnect from technology and focus on your patient interactions. This allows you to access all the amazing features of OrthoScribe without having to take your phone into the patients room.
How To Use:
- Download OrthoScribe onto your Apple Watch through the AppStore on your watch or sync it through the Apple Watch icon on the phone.
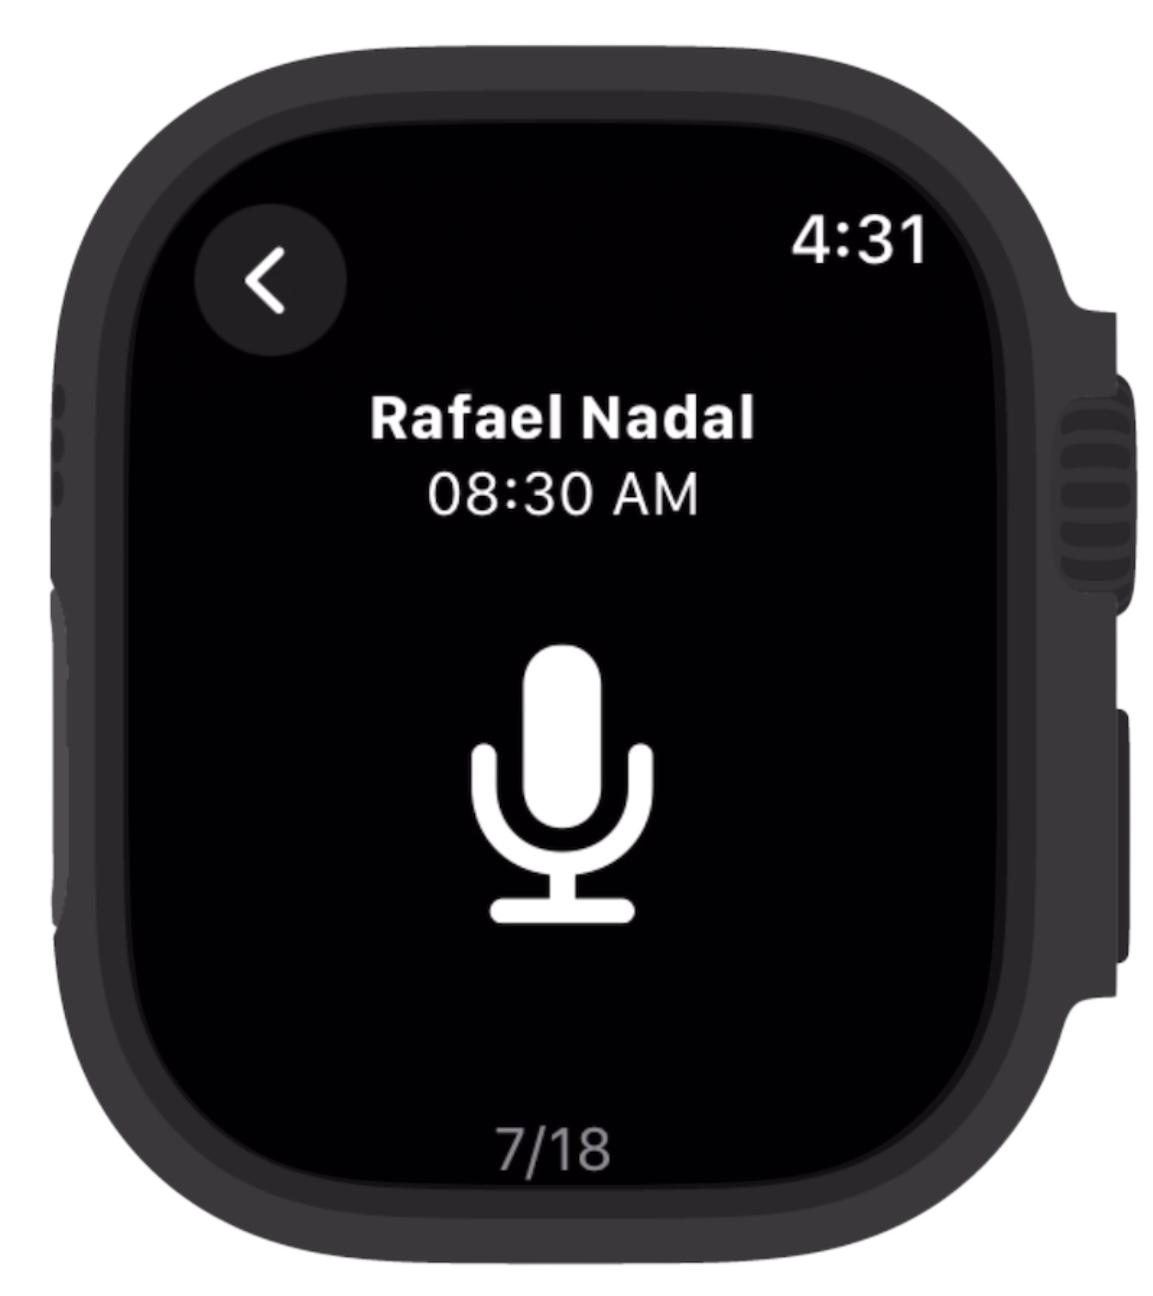
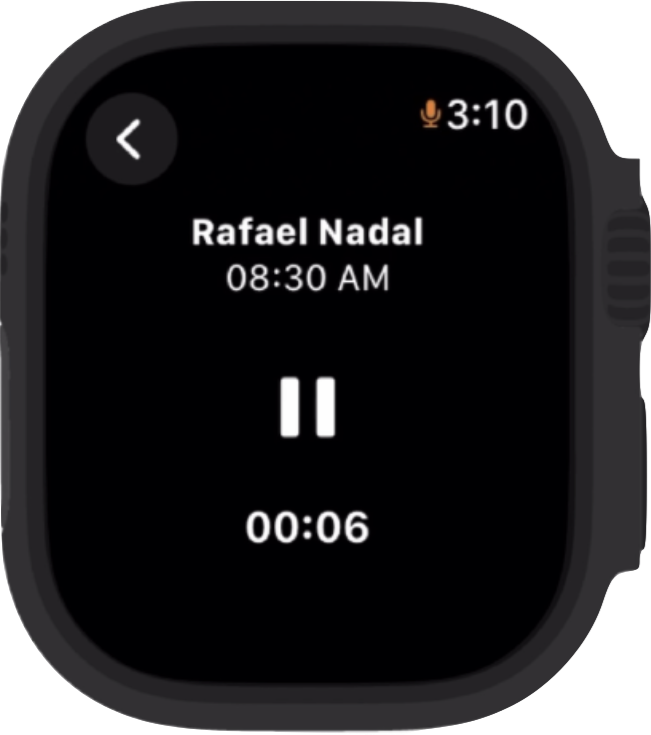
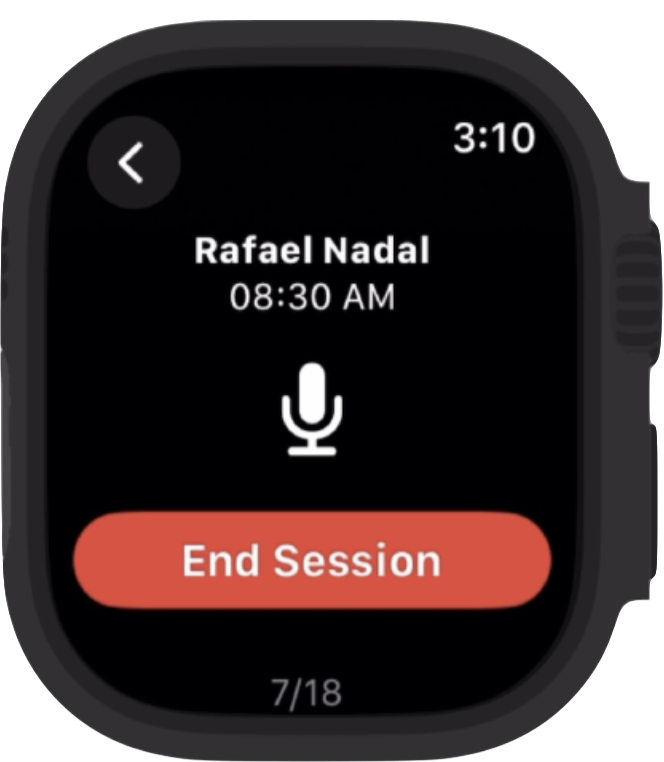
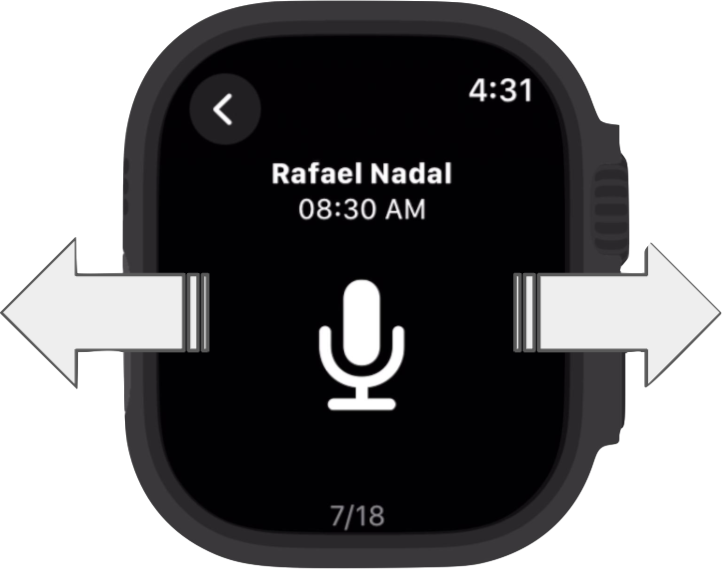
- You can scroll through the list of patients on the main screen and select the patient you want to start recording on. Once you select the microphone you'll recognize that the timer in the bottom begins to run. Once you've completed your recording, simply select pause followed by "End Session". To go to a new patient, you can return to the main screen or just swipe left or right on the screen to go to the next patient (which tends to be faster)
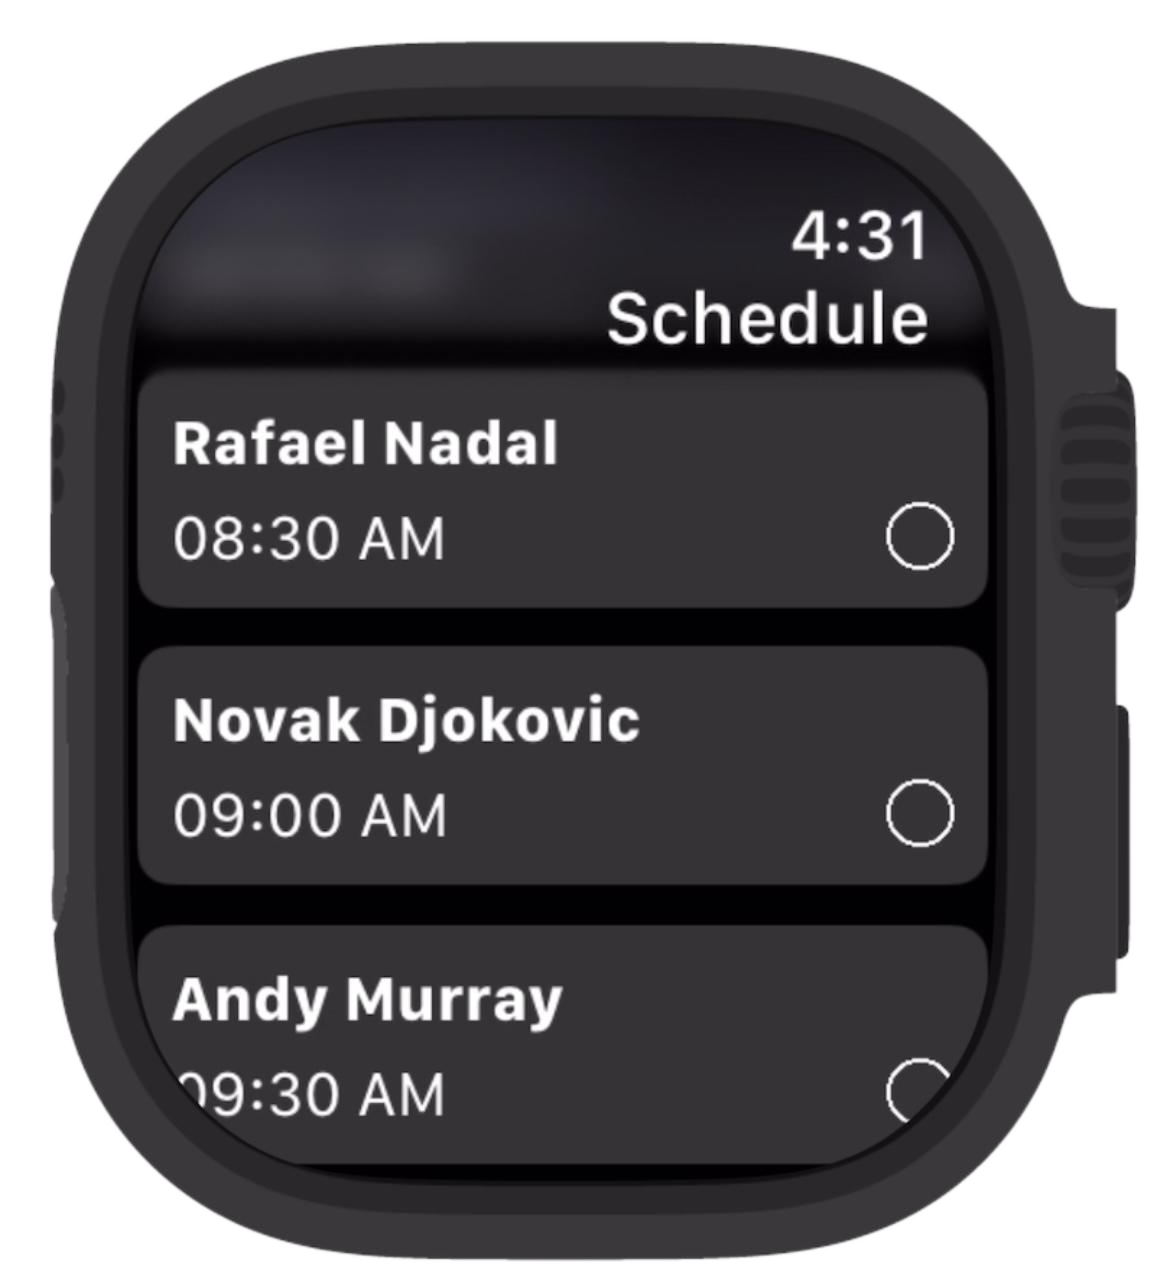
- On the recording screen, you can navigate between patients easily by swiping left or right.
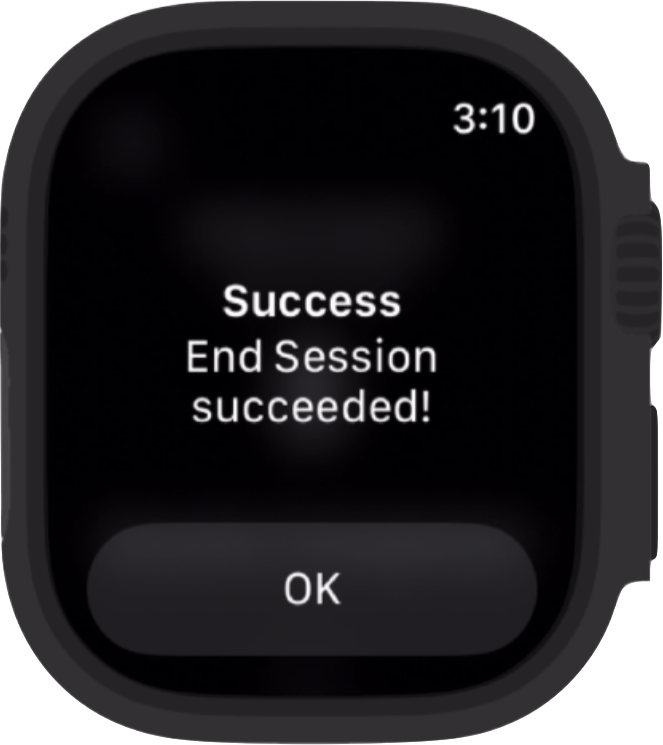
- You can always add more than one recording. Simply select the patient again and hit record. After each "End Session" a new note will be generated with the additional audio added.
- Notes will get processed and can be viewed on the phone/website or in your EMR if OrthoScribe is synched to your EMR.
Watch Face Complication
How to Add the Complication:
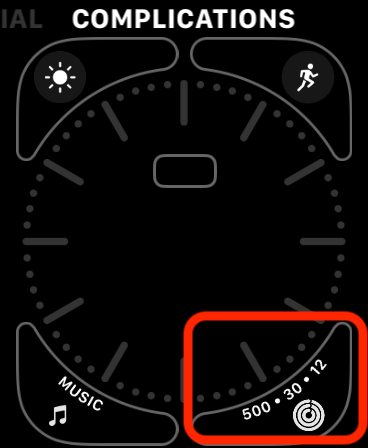
- Open your watch face editor: press and hold your current Apple Watch face, then tap Edit.
- Choose a complication slot: swipe to the Complications section, tap the spot where you want OrthoScribe to appear, then scroll through the available apps.
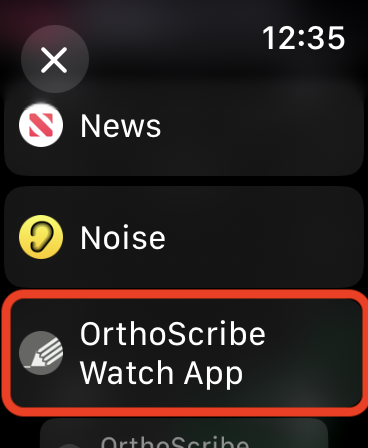
- Select OrthoScribe: tap "OrthoScribe Watch App" to add it as the complication, then tap through the menu flow.
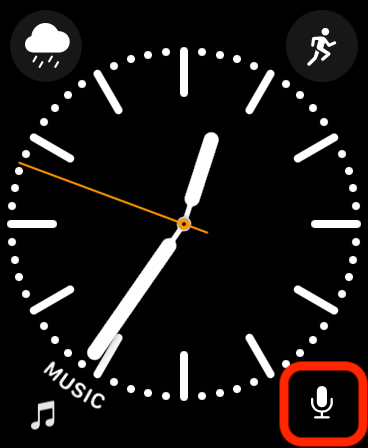
- The microphone icon will show where you set your complication, and you can now launch OrthoScribe directly from your watch face.